
Loading the latest stories…
These instructions are based on the information in Barbara Foster’s Learn Needle Tatting, Step by Step (Paxton, Illinois: Handy Hands, 1998), which provides complete step-by-step needle-tatting instructions accompanied by plentiful photographs.
Jane Fournier4 min read
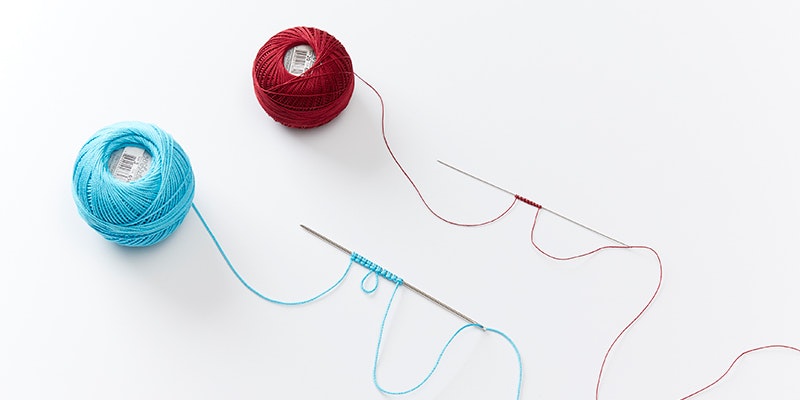
As you work step by step through the instructions for a simple edging, you will learn all the techniques needed to make the needle-tatted project that follows. Most beginning tatters find that the basic tatting stitch, the double stitch, is faster and easier to make with a needle than with a shuttle. Errors can be easily corrected before a ring or chain is completed. (Check the number of stitches and picots in each ring or chain while it is still on the needle. If you find an error, withdraw the needle to the first correct stitch before the error, then remake the sequence of stitches correctly.)
With the thread still attached to the ball, thread the needle and pull about 4 inches (10 cm) of the thread through the eye. Place the ball thread over your right index finger about 18 inches (46 cm) from the needle. Place the needle over the thread to hold it in place (Figure 1) and hold the ball thread with the last three fingers of your left hand. Now the thread leading from your right index finger to the ball is the ball thread.
More from PieceWork



Comments
No comments yet — be the first to share your thoughts.
Sign in to join the conversation — commenting is for signed-in members.