
Loading the latest stories…
Those weird Victorian added their crafty touch to all manner of household objects and textiles. We offer up this example from Weldon’s Practical Knitter, Thirty-Second Series, a Lead Cushion, or Door Stop.
Elizabeth Prose4 min read
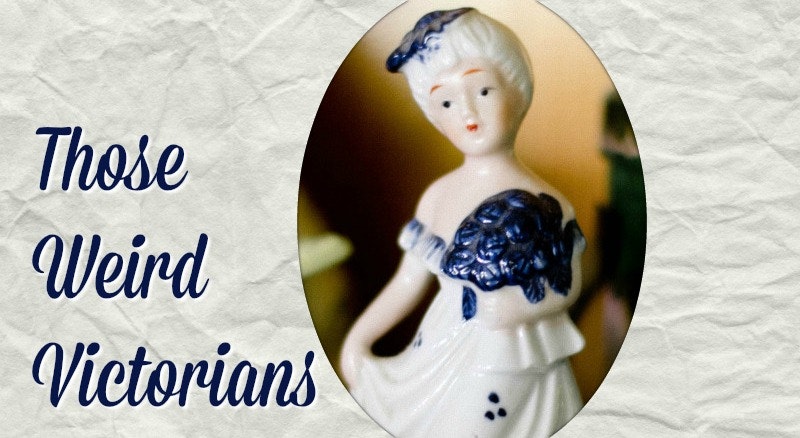
Those weird Victorians added their crafty touch to all manner of household objects and textiles. We offer up this example from Weldon’s Practical Knitter, Thirty-Second Series, a Lead Cushion, or Door Stop. Because who doesn’t see a plain, ordinary brick and think that it’d look better covered in knitting.

Illustration of a Lead Cushion or Door Stop from Weldon’s Practical Knitter, Volume 11, Thirty-Second Series.
Here is the pattern as it was published in 1896, with neither corrections nor alterations.
LEAD CUSHION, OR DOOR-STOP.
AN excellent lead cushion or door-stop can be made from a brick; and this, as its place is often upon the floor, should be covered with knitting in very bright colours, to contrast sharply with those of the carpet.
Having obtained a brick, any great imperfections there may be in it should be filled up with lumps of wadding, the object being to make the finished article as neat and trim as possible. The brick should, further, be tidily packed up in a sheet of wadding, the extra thickness of it at the ends being cut away.
The cushion then only requires covering. It should first have dark-coloured beige or serge stretched all over it, and then the knitting. The measurements of a brick are—length, nine inches, and breadth, four and a half inches; but when the wadding is put over it the cushion will be slightly larger. Use about 4 oz. of four-ply fingering, 2 oz. of each of two colours, and four knitting needles, No. 12. Suppose the two colours chosen to be brown and rose. Four sections of knitting will be required, an oblong piece for the top and another for the bottom of the cushion, a long strip to bind round the four sides of it, and a handle to stretch across the top.
Begin with the piece for the top; use two only of the knitting needles. Cast on 32 stitches with the brown fingering. 1st and 2nd rows—Plain. 3rd row—Knit 2, * knit 1, putting the thread twice round the pin, thread forward as if for purling, slip 1, pass the thread back; repeat from * thirteen times, knit 2. Knit five more rows in double knitting like third row, always remembering to knit the first two and the last two stitches of each row plain. Join the pink wool, and with it work six rows like third row. Work six rows of brown and six rows of pink (alternately) seven more times—ninety-six rows of double knitting in all, counting from the third row. Then knit six more rows of double knitting in brown, two rows of plain knitting in the same colour, and cast off. This completes the section for the top of the cushion.
For the bottom of the cushion use a pair of pins and brown wool only. Cast on 32 stitches, knit 2 plain rows, then a hundred and two rows in double knitting, like the third row of the cover as described just above. Finish by working two plain rows and cast off.
To make the strip to stretch round the sides of the brick use some brown and some rose-coloured fingering and a pair of the needles. Begin with brown wool; cast on 19 stitches and knit one plain row. 1st pattern row—Knit 2, * with rose knit 3, with brown knit 3, repeat from * once, with rose knit 3, with brown knit 2. 2nd row—With brown knit 2, * with rose purl 3, with brown purl 3, repeat from * once, with rose purl 3, with brown knit 2. 3rd row—Like first row. 4th row—Like second row. 5th row—With brown knit 2, * knit 3, with rose knit 3, repeat from * once, with brown knit 5. 6th row—With brown knit 2, * purl 3, with rose purl 3, repeat from * once, with brown purl 3, knit 2. 7th row—Like fifth row. 8th row—Like sixth row. Repeat from the first row twenty-two times; then knit one plain row with brown and cast off.
For the handle of the lead cushion cast on 33 stitches, 11 on each of three needles, using brown wool. * Knit 6 rounds plain with brown, then six rounds plain with rose-coloured wool, repeat from * seven times, knit six rounds with brown wool and cast off.
The sections have now to be sewn together and to the covered brick. Stitch the handle on first, after having pressed it flat and stiffened it with a band of card or buckram, wide enough to keep it well out without straining it. Stitch up the two ends after having pushed the stiffening into the knitting through one of them; then fix the handle across the top of the cushion in the position seen in the illustration. Join the strip intended to cover the sides of the cushion into a ring; slip it into position, put on the knitted top section and sew this to the knitted sides, working carefully all about the handle, and paying attention to the neatness of the comers and that the side-covering is not fuller on one side of the cushion than on others. Finally, sew the knitted section for the bottom of the cushion to the knitted sides of it.
If this be meant to serve as a lead cushion it can be additionally weighted with shot and sand, if wished; also, the top may be softly stuffed to make it suitable for a pincushion. Ornamentation in the form of woollen pompons or tassels is easily added if desired.
Inspired by the Lead Cushion, or Door Stop in Weldon’s Practical Needlework, I plan on knitting my own cozy for a brick and giving it to a friend—it’s the perfect gift for the person who has everything . . . everything except a knitted brick! If you knit your own variation of Weldon’s knitting-embellished brick, we’d love to see it! Send a photo to piecework@longthreadmedia.com.
—Elizabeth
More from PieceWork
 Long Thread Podcast: Emily Whitted, Texile HistorianSeason 15, Episode 3: Exploring collections of early American cloth, Emily Whitted finds stories of creativity, virtue, and the intimate lives of people from many backgrounds.Anne Merrow · July 28, 2026
 Long Thread Podcast: Loretta Pettway Bennett, Gee’s Bend QuilterSeason 15, Episode 2: A fifth-generation quilter from the legendary community of Gee’s Bend, Alabama, Loretta Pettway Bennett turns well used cloth into her own expressions of color and community.Anne Merrow · July 11, 2026
 From Ticking to Treasure: Reimagining Victorian Embroidered CasesStitch and sew a charming embroidered-ticking bag based on an 1863 pattern.Colleen Formby · May 21, 2026
 Long Thread Podcast: Curtis Gregory, George Washington Carver National MonumentSeason 14, Episode 5: Best known for his work with peanuts, renowned agricultural scientist George Washington Carver had a lifelong passion for needlework. Park Ranger Curtis Gregory shares stories about Carver’s interests in handwork and natural dyeing. Anne Merrow · April 4, 2026
 The Modern Language of TattingWhile the core of the craft has remained the same, the language of patterns has evolved over time.Katrina King · March 30, 2026
 Ceremonies and Celebrations: PieceWork Call for Submissions Spring 2027We're seeking articles and projects that illuminate the role of needlework in ceremonies and celebrations, from wedding finery to ritual textiles.
Karen Elting Brock · March 23, 2026
Ceremonies and Celebrations: PieceWork Call for Submissions Spring 2027We're seeking articles and projects that illuminate the role of needlework in ceremonies and celebrations, from wedding finery to ritual textiles.
Karen Elting Brock · March 23, 2026 Discover an Irish Crochet Masterpiece and One Woman's Journey from Hardship to LegacyLearn the story of a determined dressmaker and her daughters and their precious Irish lace wedding jacket from 1881.Lowanne E. Jones · March 12, 2026
 Mark Twain’s Invention: The Surprising Origin of the Modern Bra StrapDiscover Mark Twain's contributions not only to the literary world, but also to fashion history. Mimi Seyferth · March 2, 2026
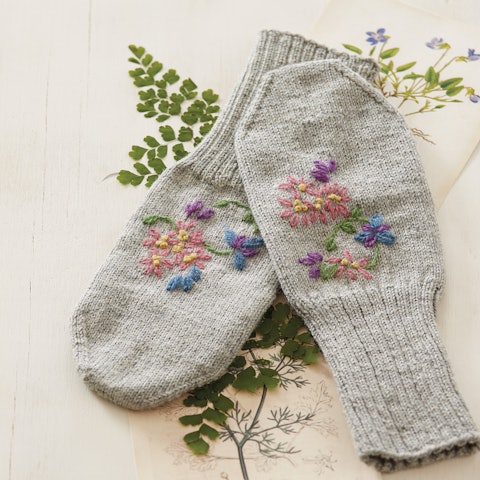 Mittens of Memory: Beauty and Resilience in Wartime AmericaA pair of hand-embroidered mittens from a World War II relocation camp serve as a testament to resilience and the sustaining power of craft. And you can make them, too.Susan Strawn · January 26, 2026
 Long Thread Podcast: Elena Kanagy-Loux, Lacemaker & Historian (classic)Season 13, Episode 9: Ethereal, durable, ornamental, powerful—what does lace mean to you? Through academic study and the work of her hands, Elena Kanagy-Loux teaches that lace is all of these things and more.Anne Merrow · January 10, 2026
From the Library


Comments
No comments yet — be the first to share your thoughts.
Sign in to join the conversation — commenting is for signed-in members.